
Simplified Container Apps
A Hands-On Guide for .NET Developers

Introduction
Azure Container Apps are a great way to work with containerised applications or microservices. You don’t need to worry about the overhead of Kubernetes, and you get many of the benefits of hosting your applications in a fully managed containerised environment. Let’s explore those benefits, and see how easy it is to get up and running in minutes with a Container App.
Why choose Container Apps
For me, Azure Container Apps represent a simplified way of working with Container services. I’ve used Kubernetes to a degree, but I still find it tricky to work with and much of the complexity unnecessary for most of the work I do. Container Apps abstracts a lot of the concepts and allows me to focus on building functionality.
They’re also a great way to dip your toe into microservices, or containerisation. You can easily extract a small piece of functionality from a monolith and see the benefits of scaling and separation while experiencing the simplicity of management.
Microsoft recommends their use for the following scenarios:
Deploying API endpoints
Hosting background processing jobs
Handling event-driven processing
Running microservices
Next to other Azure offerings the choice gets a bit more complex, for the most part it shares a lot of properties with AKS, Container Instances, Functions, and even App Services.
One important limitation to be aware of is that Container Apps only work with Linux containers. If you want to work with Windows containers you’ll probably have to use AKS.
Here’s Microsoft’s more in depth guide for chosing when to use Container Apps:
Comparing Container Apps with other Azure container options
Environments
Think of Container App Environments a bit like an App Service plan. They are a secure boundary around one or more container apps or jobs. The runtime manages OS upgrades, scaling, failovers and balancing so you don’t have to.

Environment Types
There are two types of Environment; Workload Profile and Consumption only. A Workload profile allows you to set your billing plan to use either dedicated resources or consumption only. With dedicated resources you can use customised hardware which allows more predictable costing. When using a Consumption only Environment Type, you only pay for the container apps you use, not the environment. Consumption only works a bit like Azure Functions, though using a Workload profile allows you to start with a consumption plan and then switch to better dedicated hardware if you need it.
Azure Container App Environments
Creating a container app
Depending on your needs, you can create and deploy a Web app, Blazor app, an API, or a Worker process.
Here’s some code for a Worker process that would run continuously:
while (!stoppingToken.IsCancellationRequested)
{
    DoWork();
    await Task.Delay(1000);
}
Container App Jobs
If you are running a service which doesn’t have to run continuously, such as a scheduled process, a short running task, or an event driven action, we have the option to create Container App Jobs. They fire up and exit when finished, and can be run manually, scheduled or on demand. Container Apps and Jobs can both be run within the same environment.
It’s important to note that Worker templates don’t enable Garbage Collection by default. You can turn this on in the Project file, but there are advantages of leaving it off for short lived processes, specifically Real Time performance.
Restrictions to note are that Dapr and Ingress are not supported in Container App Jobs.
Workers
Container App Jobs lend themselves well to the Worker pattern, as Worker inherits from BackgroundService and IHostedService. These are useful when you want to run as a background job or perform time based operations on a schedule.
In Visual Studio, create a new Worker App in C#, using .NET 8.
In Visual Studio Code, Open a new folder, and a terminal, then enter the following.
dotnet new worker -n “MyService”Replace the Worker class code with the code below.
public class Worker : BackgroundService
{
    private readonly IHousekeeping _housekeeping;
    private readonly ILogger<Worker> _logger;
    private readonly IHostApplicationLifetime _hostApplicationLifetime;

    public Worker(ILogger<Worker> logger, IHousekeeping housekeeping, IHostApplicationLifetime hostApplicationLifetime)
    {
        _logger = logger;
        _housekeeping = housekeeping;
        _hostApplicationLifetime = hostApplicationLifetime;
    }

    protected override async Task ExecuteAsync(CancellationToken stoppingToken)
    {
        _logger.LogInformation("{Service} is running.", "Myservice");

        await _housekeeping.DoWork(stoppingToken);

        _logger.LogInformation("{Service} has completed.", "Myservice");

        _hostApplicationLifetime.StopApplication();
    }
}
In Program.cs, register your specific services. The Worker service should already be registered as a Host service.
builder.Services.AddTransient<IHousekeeping, Housekeeping>();It’s important to note that Worker Services do not have Garbage Collection enabled by default, you have to enable it in the project file with
<PropertyGroup>
    <ServerGarbageCollection>true</ServerGarbageCollection>
</PropertyGroup>
Leaving the Garbage collection disabled can be helpful for performance and for short running tasks.
Deploying to Azure
Creating the Docker File
You may have already created it if you created the project in Visual Studio and selected “Enable Docker Support”. If not, it’s trivial to add.
In Visual Studio, you simply right click the project and click Add > Docker Support.
In VS Code, you will need to install the Docker and C# extensions. Then in the Command Pallette (F1 or Ctrl+Shift+P) find
Docker: Add Docker Files to Workspace. Then go through the steps, remembering to use Linux Containers if you want to deploy to Container Apps.
Ways to deploy
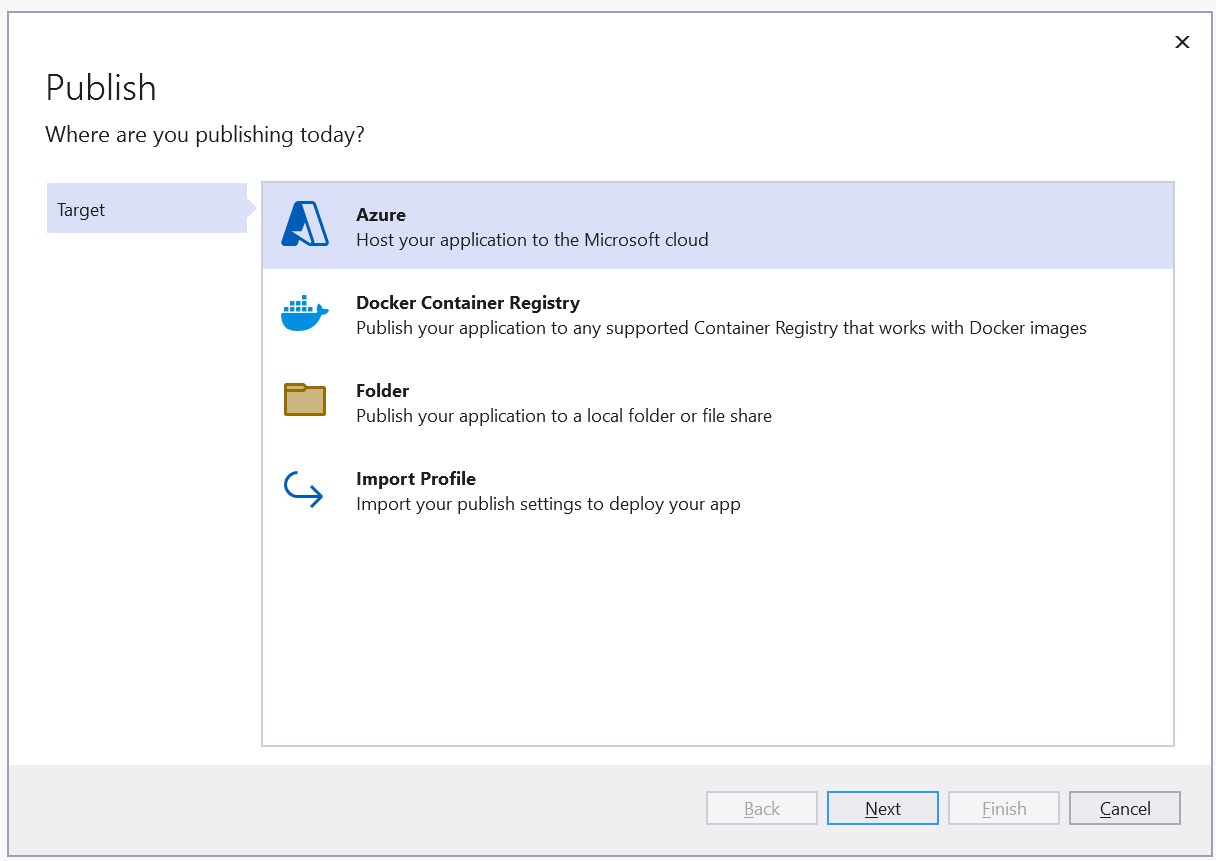
Right click Publish!
Devops engineers avert your eyes. 😅
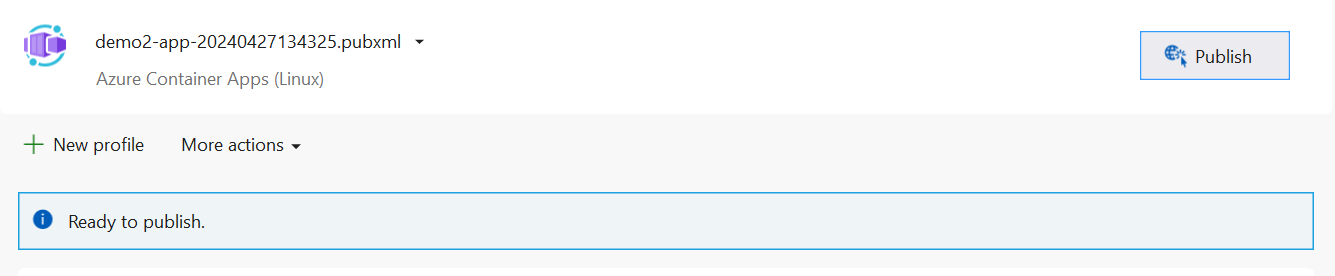
A simple way to get your project deployed is to use Visual Studio’s Publish feature. Make sure you have the latest update of VS so that you can deploy Container Apps.
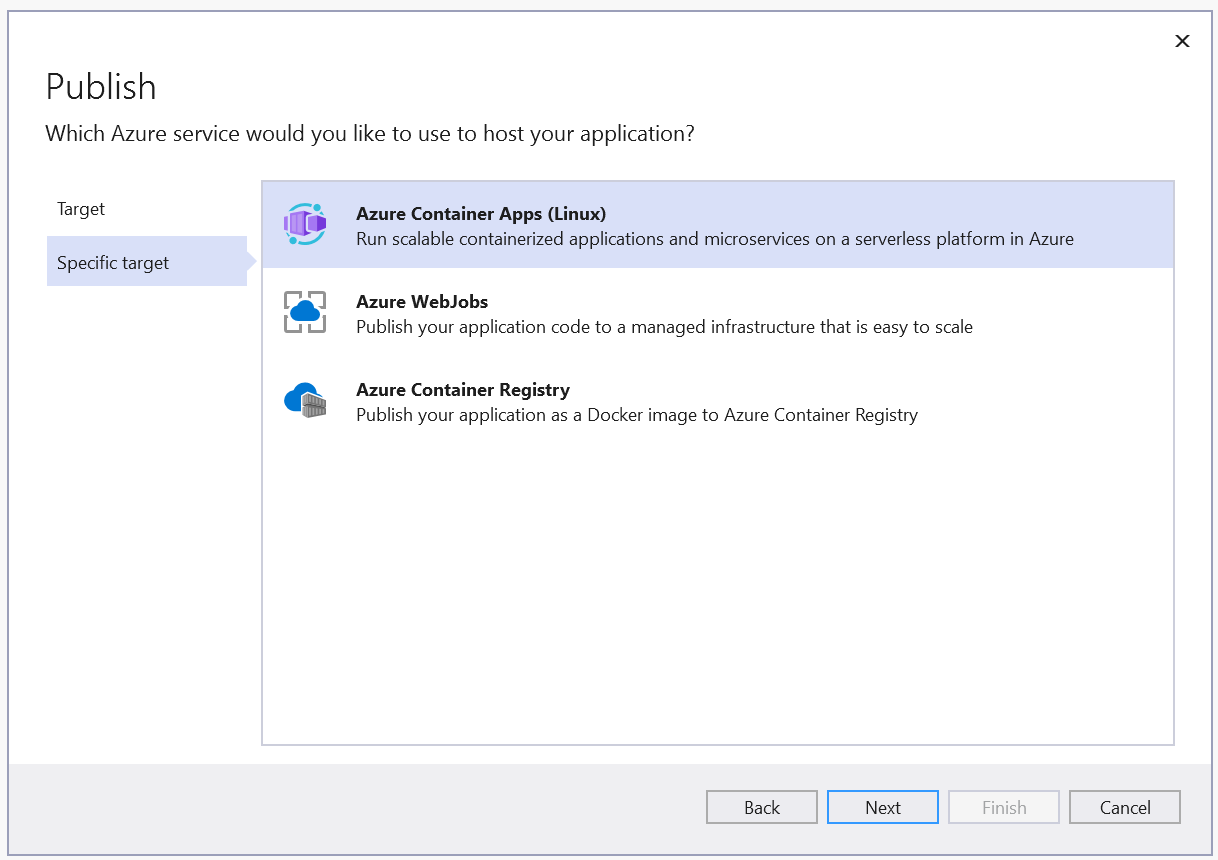
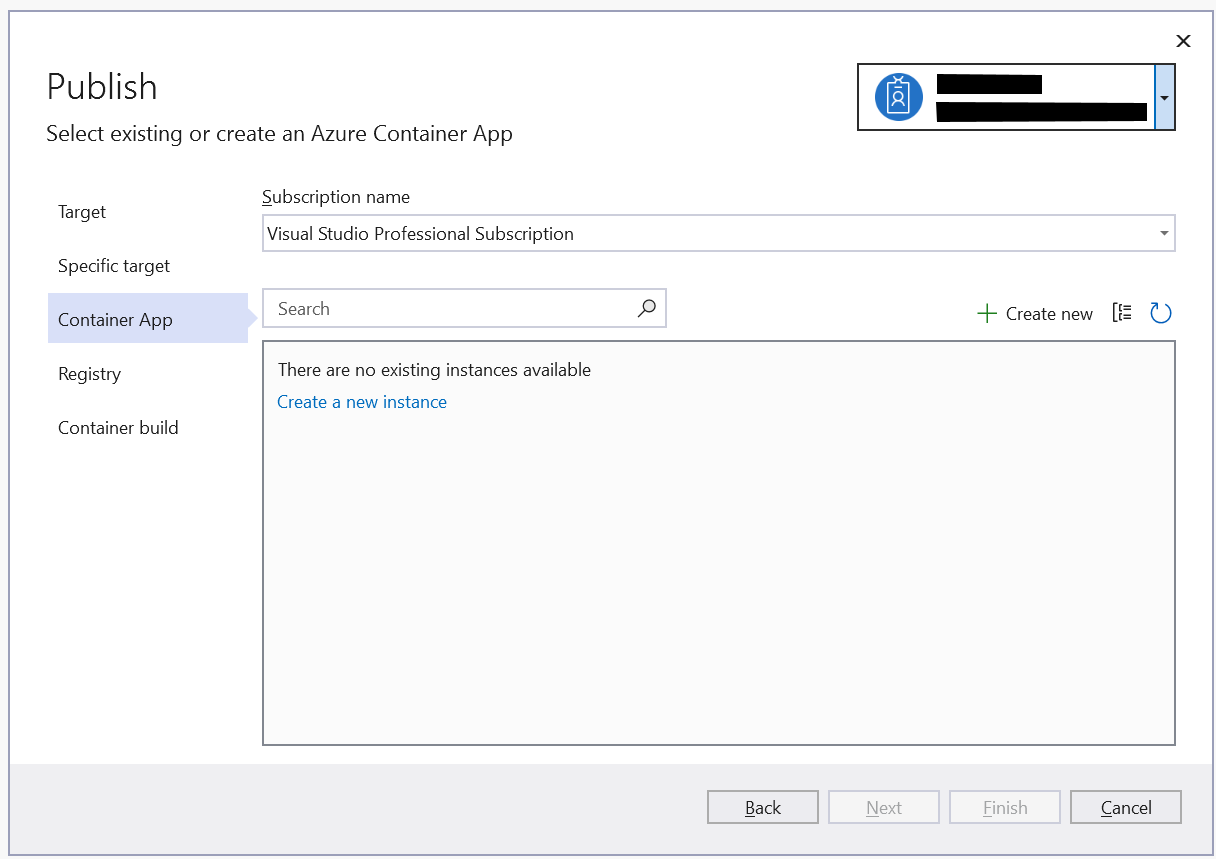
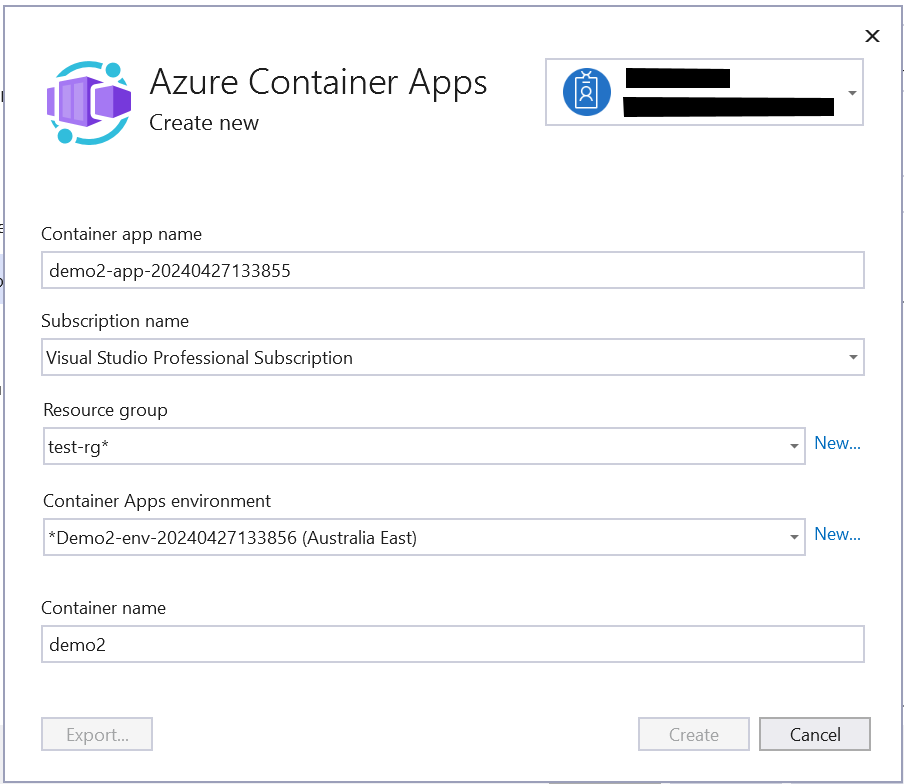
This wizard will allow you to create a new Resource Group and Environment if they don’t exist already. Note the Create button will enable once you click “New” next to the environment dropdown and then select your environment.
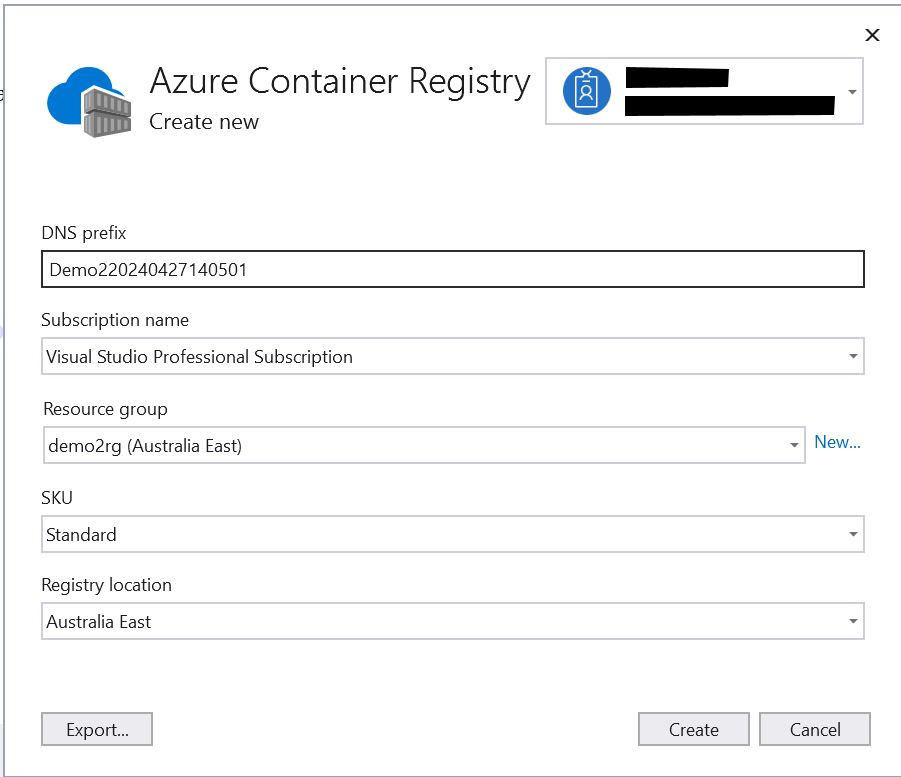
After a few minutes your Container Apps Environment will be created and the next stage is to deploy the image to a Container Registry. You might need to create this too:
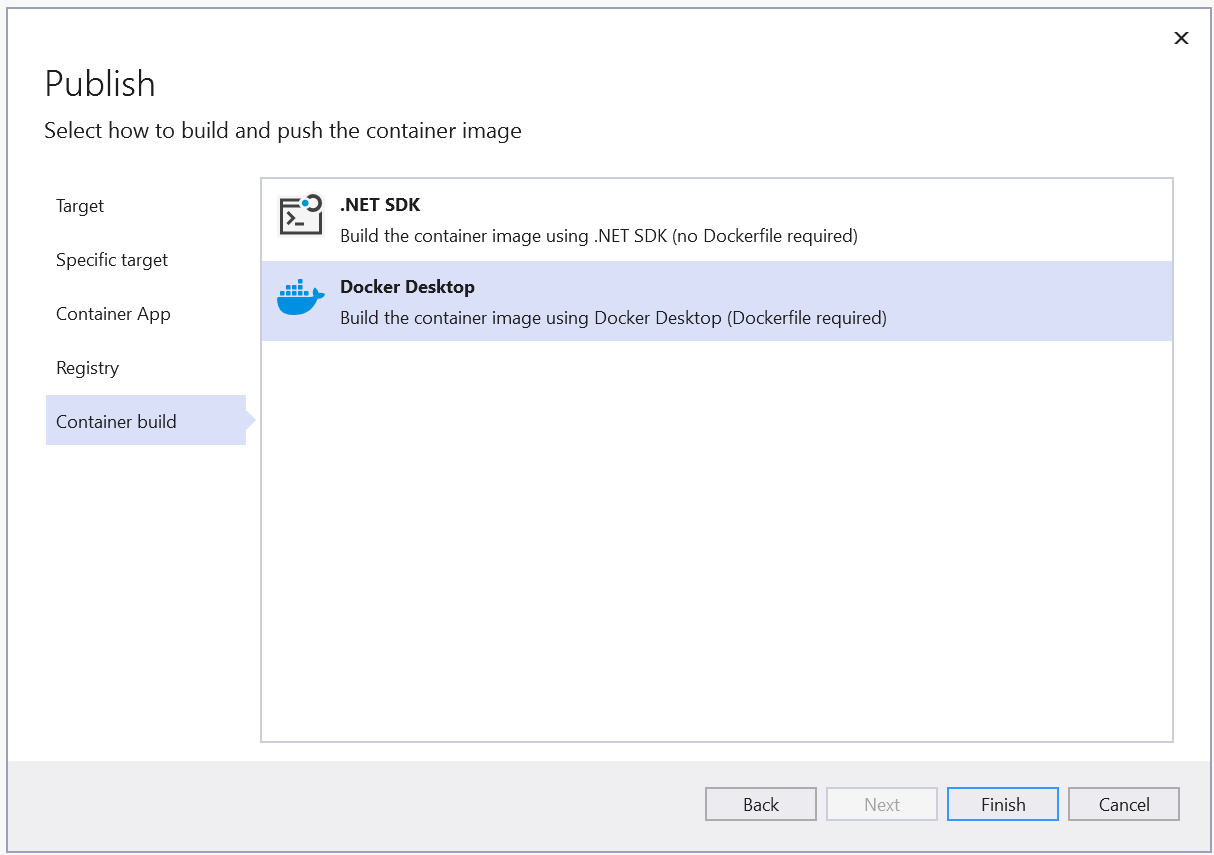
On the final step, chose Docker Desktop for your build.
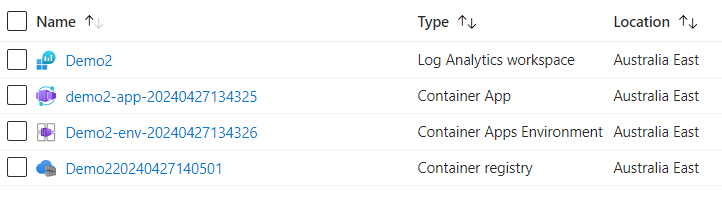
Once you’ve completed the wizard, your Environment, Container Registry, and App should be deployed.
In the Publish screen you can click Publish to deploy again when changes are made:
Deploying from VS Code
open the command palette and run
Azure Container Apps: Deploy Project from Workspace Step through the selections which are quite self explanatory. You may be prompted to create a new Container Apps Environment/Resource Group.
Deploying from Command Line
There are some pre requisites to deploying using the Azure CLI, which you can find here. However you might find that it all works without having to do some of these steps.
az containerapp create example
az containerapp env create \
    --name "$ENVIRONMENT" \
    --resource-group "$RESOURCE_GROUP" \
    --location "$LOCATION"
az containerapp job create example
az containerapp job create \
  --name "my-job" \
  --resource-group "my-resource-group" \
  --environment "my-container-app-environment" \
  --trigger-type "Schedule" \
  --image "myregistry.azurecr.io/quickstart-jobs:latest" \
  --cpu "0.25" \
  --memory "0.5Gi" \
  --env-vars "MY_ENV_VAR=my-value" \
  --cron-expression "0 0 * * *" \
  --registry-server "myregistry.azurecr.io" \
  --registry-username "myregistry" \
  --registry-password "myregistrypassword" \
  --replica-timeout "1800" \
  --replica-retry-limit "1" \
  --replica-completion-count "1" \
  --parallelism "1"
Deployment Summary
However you’re deploying, the basic steps you need to follow are:
Create a Resource Group
Create a Container App Environment
Build the Docker image and deploy to a Container Registry
Create a Container App/Job referencing the image + Registry
Monitoring
Log Stream, System + Console
In Container Apps, the best way to get a quick look at what’s going on with your app is to look at the Log Stream tab in the Azure Portal. Selecting “Console” will show you the app logs, while “System” will help you diagnose container orchestration issues.
Viewing log stream using Azure CLI
To view your container app's log streams from the Azure CLI use
az containerapp logs show or your container app's environment system log stream with
az containerapp env logs showOther Monitoring Options
You might notice that Container App Jobs don’t have the log stream. But Container Apps and Jobs mostly have all the usual monitoring features offered for Azure resources:
📈 Log Analytics
📈 Monitor
📈 Metrics
📈 Alerts
📈 Application Logging
In the Log Analytics, look for the Log_s field.
Scaling
In the Scale tab under Application for a Container App, you can set the Scale Definition, Rules, and Behaviour.
For Container App Jobs, Scaling is only possible on Event-driven Jobs. You can scale based on an Azure Storage Queue, for example, setting the queue connection details in the Scale Rule Metadata. See more here: https://learn.microsoft.com/en-us/azure/container-apps/tutorial-event-driven-jobs
I will go into Scaling in more depth in a later post.
Set scaling rules in Azure Container Apps
Ingress
Ingress settings allow you to limit or open network access to your container app depending on your scenario. For a web app, you might want to allow access from the internet. For a web api, you might want to restrict access within the Container App environment, so that only other Container apps can access it. Or in the case of scheduled tasks, you probably don’t want ingress enabled at all.
It’s important to note that when changing ingress settings, the url of the container app changes. This will catch you out if you’re not aware.
I will go into Ingress in more detail in a later post.
Ingress in Azure Container Apps | Microsoft Learn
Troubleshooting
Breaking change: Default ASP.NET Core port changed from 80 to 8080 - .NET | Microsoft Learn